The world of IoT and wireless technology offers incredible tools for development, testing, and learning. While powerful devices exist, they often come with a hefty price tag. Enter the M5StickC PLUS2 – a compact, affordable, yet surprisingly capable ESP32-based development kit that’s capturing the attention of hobbyists and professionals alike.
But the real magic happens when you unlock its full potential with custom firmware. Today, we’re diving into installing Bruce ESP32 Firmware, transforming this ~$25 device into a versatile tool for exploring WiFi, Bluetooth Low Energy (BLE), RF signals, and much more. This guide provides a complete, step-by-step walkthrough based on our recent video tutorial.
Why This Matters for Professionals & Enthusiasts:
- Affordable Learning: Gain hands-on experience with wireless protocols and security concepts without significant investment.
- IoT Prototyping: The ESP32 core makes it ideal for various connected projects.
- Debugging & Analysis: Useful for analyzing WiFi/BLE traffic and understanding network interactions (ethically, of course!).
- Skill Development: Enhances understanding of firmware flashing, embedded systems, and wireless technologies.
Table of Contents
What Youll Need:
- M5StickC PLUS2: Available on platforms like AliExpress or Amazon.
- USB-C Cable: For connecting the device to your computer.
- Computer: Windows, macOS, or Linux (this guide uses Windows for driver examples).
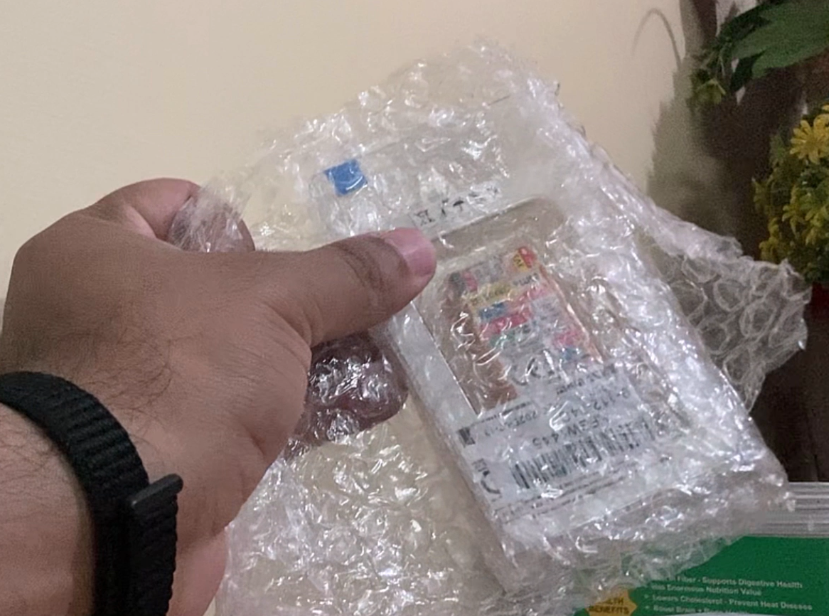
Step 1: Unboxing the M5StickC PLUS2
You’ve received your device! It typically comes in simple packaging. Ensure it arrived undamaged.
The M5StickC PLUS2 boasts impressive specs for its size:
- ESP32-PICO-D4 processor
- 1.14-inch TFT Color LCD (135×240)
- 6-Axis IMU (SH200Q or MPU6886)
- Digital Microphone
- IR Transmitter
- Built-in Battery
- USB-C Port & Grove Expansion Port
It comes with stock firmware, but we’re here to upgrade!
Step 2: Preparing for Firmware Installation – M5Burner amp; Drivers
The easiest way to flash firmware is using the official M5Burner tool.
- Download Drivers:
- Download M5Burner Software:
Step 3: Flashing Bruce Firmware
Now for the main event!
- Run M5Burner: Open the folder where you extracted M5Burner and run the M5Burner.exe application.
- Select Device: On the left-hand panel, scroll down and click on STICKC.
- Find Bruce Firmware: In the central panel, scroll through the available firmware options until you find “Bruce for StickC plus2”.
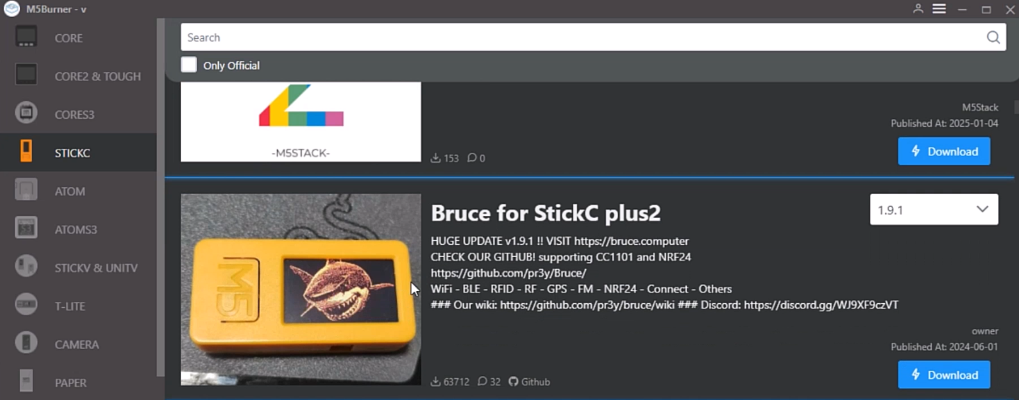
- IMPORTANT: Double-check that you are selecting firmware specifically labeled for StickC plus2. Flashing the wrong version can cause issues.
- Download Firmware: Click the blue “Download” button next to the Bruce firmware entry. Wait for it to complete.
- Connect Your Device: Plug your M5StickC PLUS2 into your computer using the USB-C cable.
- Burn Firmware: Once downloaded, the “Download” button changes to “Burn”. Click the blue “Burn” button.
- Confirm: A warning about unofficial firmware may appear. Review it and click “Continue” or “Confirm” if you wish to proceed.
- Configure Burn Settings: A configuration window will pop up.
- Wait for Flashing: M5Burner will now erase the old firmware and flash Bruce Firmware onto the device. You’ll see a progress bar.
- Success!: Once finished, you’ll see a “Burn Successfully” message.
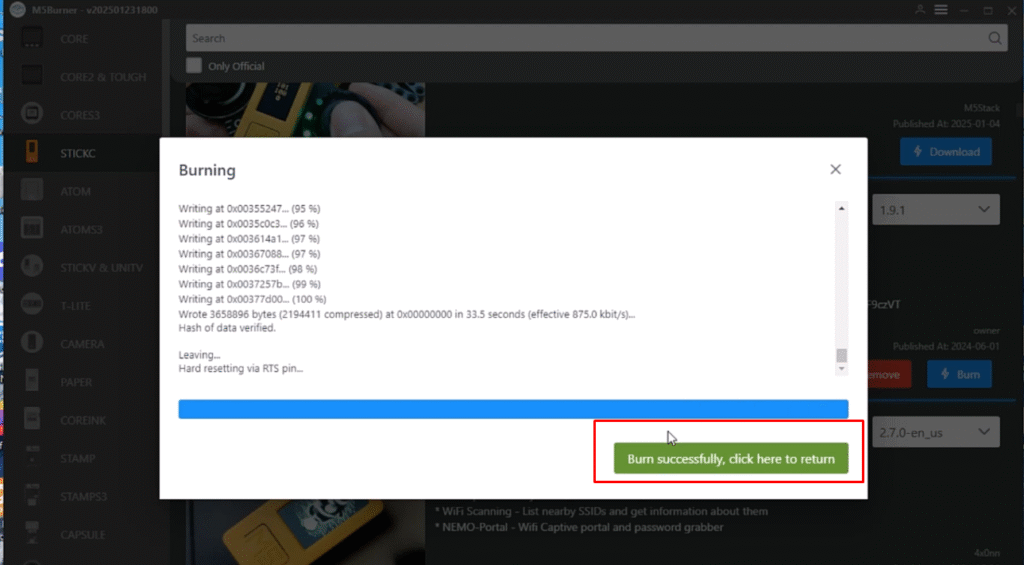
Your M5StickC PLUS2 now has Bruce Firmware installed!
Step 4: First Boot and Exploring Bruce Firmware (Educational Demo)
- Power On: Disconnect the device if needed, then press and hold the main (top) button for a few seconds to power it on.
- Boot Screen: You’ll see the Bruce Firmware boot animation (often a shark!).
- Menu Navigation: Use the side buttons (or main button depending on firmware version/config) to navigate through the menus (WiFi, BLE, RF, RFID, etc.).
Educational Demo: Understanding Captive Portals (Evil Portal)
Bruce Firmware includes various tools. One is the “Evil Portal,” which demonstrates how WiFi captive portals work – often used for public WiFi logins, but also exploitable for phishing if used maliciously. This demonstration is purely for educational purposes to understand the mechanism and associated risks.
- Navigate to WiFi -> WiFi Atks -> Evil Portal.
- Select Default (to use the built-in portal page).
- Enter an Access Point (AP) name (e.g., “Free WiFi”). This is the fake network name that will be broadcast.
- Choose a network IP (default is usually fine).
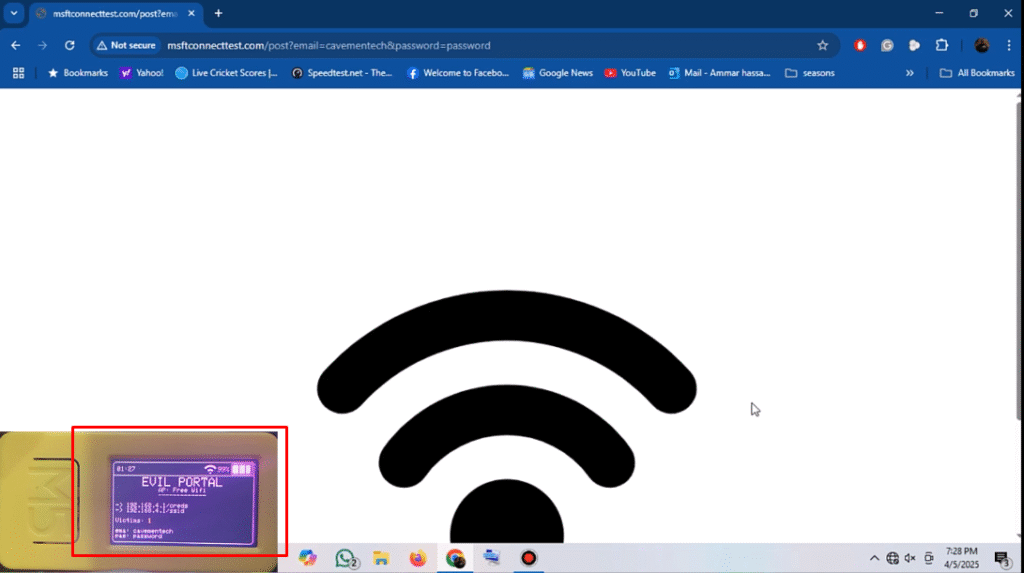
- The portal starts broadcasting. The screen shows URLs to view captured credentials (/creds) and SSIDs (/ssid) via the device’s IP address.
Simulating Connection (For Educational Insight):
- On a separate device (like a laptop), search for WiFi networks. Find the fake AP (“Free WiFi”) and connect.
- The device should automatically open a browser page, redirecting to a captive portal (often mimicking a Google login).
- If dummy credentials (e.g., email: [email protected], password: password123) are entered and submitted…
- …the M5StickC PLUS2 captures them. You can then often view these captured credentials directly on the M5StickC screen or by navigating to the /creds URL shown earlier.
🚨 IMPORTANT ETHICAL WARNING: Setting up phishing portals or attempting to capture credentials without explicit, authorized permission is illegal and unethical. This demonstration is solely to illustrate how these attacks function for security awareness and educational purposes. NEVER use these tools on networks you do not own or have permission to test.
Conclusion: A Powerful, Affordable ESP32 Tool
By following these steps, you’ve successfully installed Bruce Firmware on your M5StickC PLUS2, transforming it from a basic dev kit into a feature-rich tool for wireless exploration and learning. It’s a fantastic, low-cost way to experiment with concepts often associated with much more expensive hardware like the Flipper Zero.
Use it responsibly to learn, build innovative IoT projects, and deepen your understanding of the wireless world around us!
Have you tried the M5StickC PLUS2 or Bruce Firmware? Share your experiences or questions in the comments below!