AWS provides a free tier where you can keep a virtual machine in the cloud for 12 months for totally free. We can utilize this service to host a free kali machine in the cloud. We can also have it running with a full graphical interface. AWS requires your credit card details for verification, but the service is free. Having a Kali in the cloud is beneficial as you can perform your attacks from a remote location without providing your actual location.
1. Launching EC2 instance
After, you have made a free account on AWS, Go to your dashboard and launch an EC2 instance.

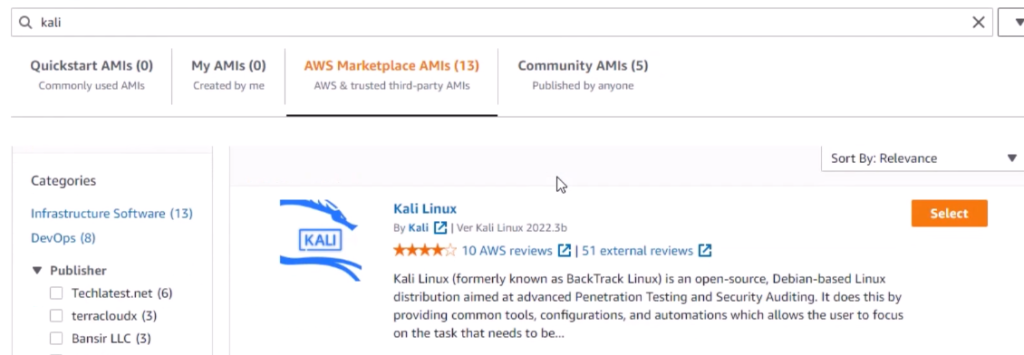
Give it a name and in AMI marketplace select kali linux.

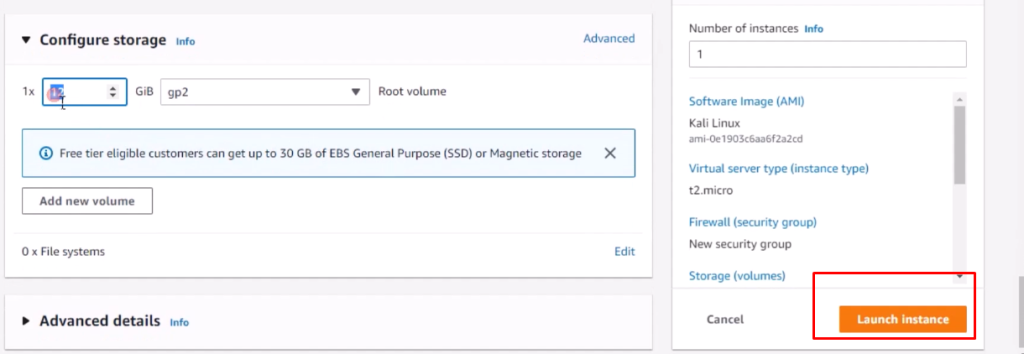
Now select instance type as t2.micro which is free tier eligible. Now create a keypair and download it. This key will be used for connecting to your machine. So, keep it safe.

Now configure your storage to 12-15 GB and launch the instance.

Your machine will start in a few seconds. Go to the security tab and amend inbound rules. Allow all types of traffic. We are going to make an inward VNC connection and we are going to use it as pentesting server, so, better is to allow all types of traffic.

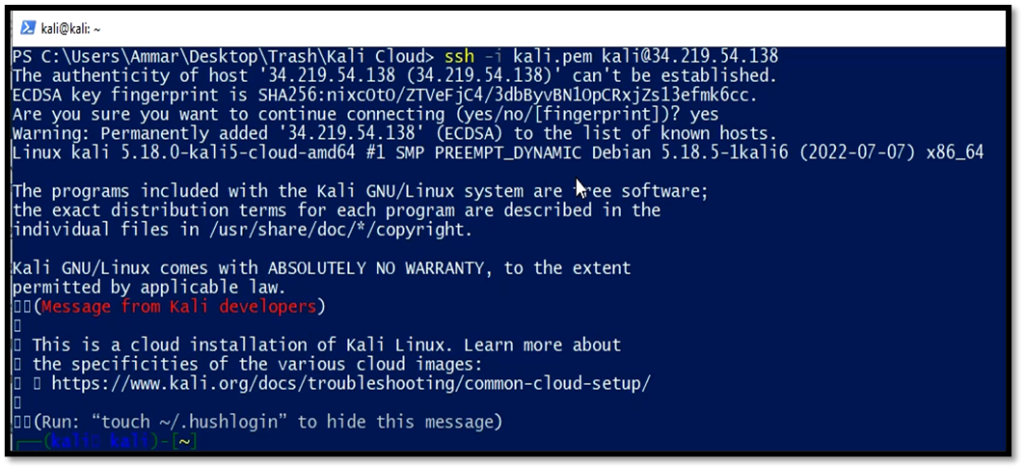
Now connect to your machine with SSH.
ssh -i "kali2.pem" [email protected]

2. Adding a Graphical User Interface to Kali in AWS
Install the desktop Environment and tightVNC server with the following commands.
sudo apt-get install xfce4 xfce4-goodies tightvncserver
sudo apt-get install gnome-core kali-defaults kali-root-login desktop-base
Now setup tightvnc geometry. It will ask you to setup a password.
tightvncserver -geometry 1024x768

Now you can check whether the VNC server is running or not with the following command.
netstat -tulpn
Download tight VNC client for windows from the official website.

Once installed, open VNC client, Provide your Kali IP and Port and connect to it. You will have a full working Kal in cloud with a Graphical user interface.
